How do I get my frame pool ready for winter?
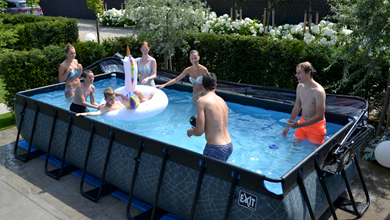
After a full summer of fun swimming in the EXIT Toys frame swimming pool, it is time to store the pool for autumn and winter. But how do you do this quickly and conveniently? EXIT knows all about it.
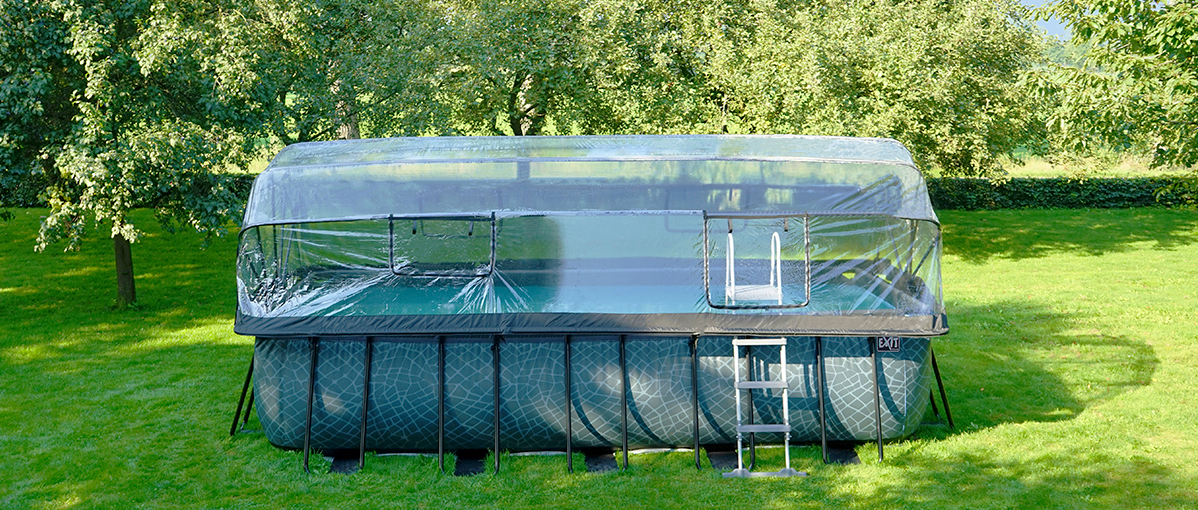
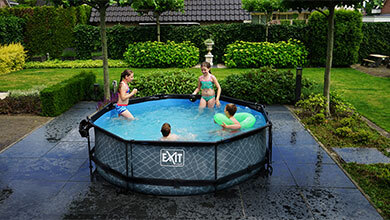
A frame swimming pool in your garden is a real treat on those hot summer days: a lovely way to cool down at any given moment. And thanks to the multifunctional dome from EXIT Toys you can even extend the swimming season a little because it creates an actual indoor pool. However, after an entire season of swimming, it is time to take down the dome. How do you go about that? In this blog you will find a plan with handy steps for taking down your EXIT dome.
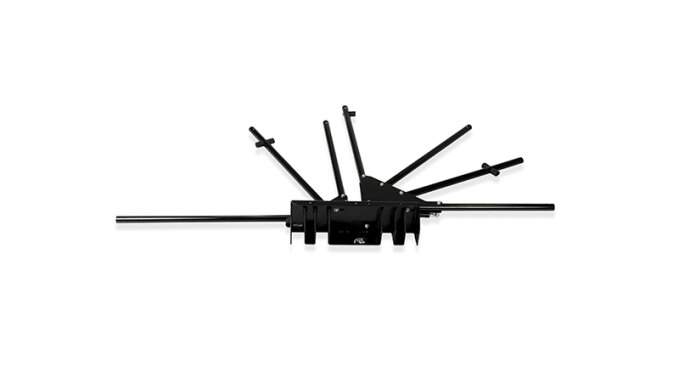
Before you start, it is important to take a look at the hinge of the dome. EXIT Toys sells domes with a hinge mechanism and a hinge mechanism with gas pressure spring. The standard hinge mechanism consists of five pins. The hinge mechanism with gas pressure spring is wider and consists of two parts. One part with three pins and one part with four pins.
Hinge mechanism Hinge mechanism with gas pressure spring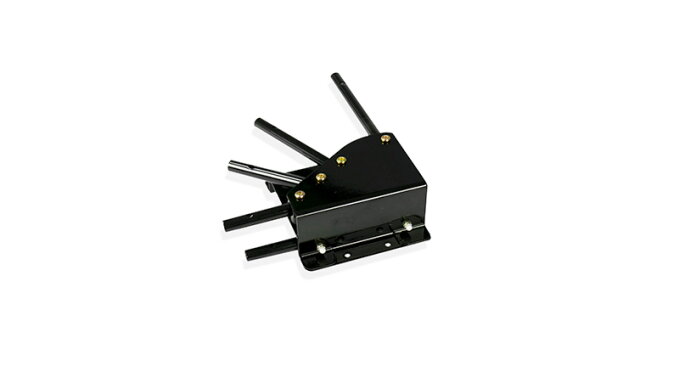
EXIT tip: we advise you to take down the dome with two people. Ready? Let’s go!
Hinge mechanism: Fold open the entire dome and lift it out of the hinge.
Hinge mechanism with gas pressure spring: Close the dome. Take the cover plate of the hinge and screw the gas pressure spring loose. Now you can open the dome and then easily lift it out of the hinge.
Place the dome on a soft and dry surface, like grass.
Remove the tubes from the dome and bundle it up with some string or elastics.
EXIT tip: Push the tubes out of the dome instead of pulling them out. This way you will prevent them from piercing into the dome. It is also a good idea to number the tubes. This will save a lot of time and effort for next season’s set up.
Screw the hinges loose and take them off the swimming pool frame. Collect all the screws and spare parts in a bag to make it easier for the next season.
Now it is time to let the dome dry. This an important step! When you store away the dome while it is still wet patches of mould can start to grow on it. And that would be a real shame! Follow therefore these EXIT steps:
Lay the dome out completely flat, dry it and where necessary clean it with lukewarm water.
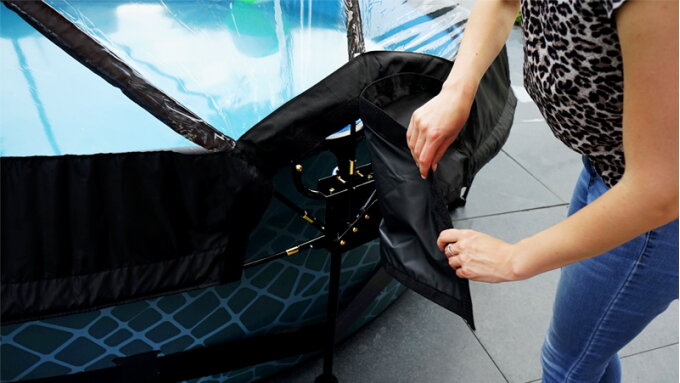
Hinge mechanism: Take the straps for attaching the dome out of the loops and off the top rail of the swimming pool. Store the straps away in a bag. After you have taken down the swimming pool, also add the black feet.
Hinge mechanism with support: Collect the elastics which are used to attach to the dome and take the screws with the star cap out of the legs of the swimming pool. Place all these parts in a bag.
Screw with the star cap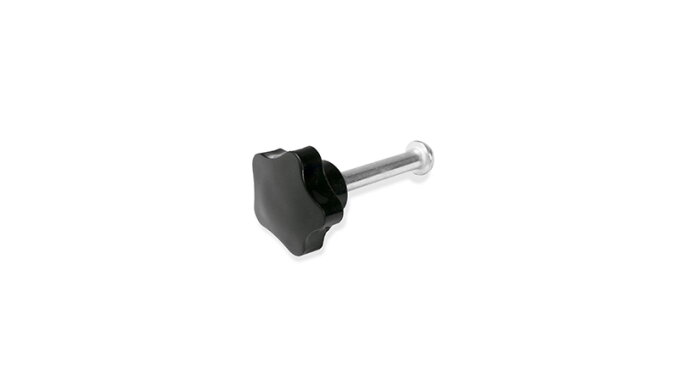
Fold up the dry dome.
Put all the parts of the dome back in the original packaging or in a storage box.
Keep all the items of the dome together in one dry spot.
Voilà! Now the job has been done and you have finished disassembling the dome, ready to be used again next season. When you assemble and disassemble the dome in the correct manner you will be able to enjoy it for years on end. Would you like to know more about this subject? We suggest that you also read the blog: How do I make my frame swimming pool winterproof?
Do you have any additional questions regarding the disassembling of the dome? Let us know! Contact us through the chat, call +31 314 - 796 020 or send an email to info@exittoys.com. We will be in touch within 24 hours.

After a full summer of fun swimming in the EXIT Toys frame swimming pool, it is time to store the pool for autumn and winter. But how do you do this quickly and conveniently? EXIT knows all about it.
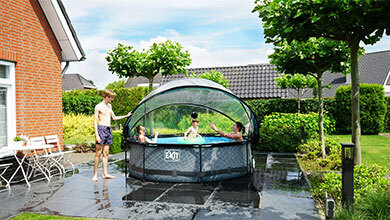
Do you also want a cool pool dome or canopy from EXIT Toys on your frame swimming pool? Read in this blog if a unique EXIT dome fits your frame pool.
Always clean water in your swimming pool? It is possible! Dive into the world of pool maintenace with EXIT Toys and read about how to keep the water fresh.
Our website uses cookies. We use functional, analytical, and tracking cookies to analyze traffic on our website and personalize content. This allows us to improve the user experience on the website.
By clicking 'Customize', you can learn more about the specific types of cookies and customize your preferences. By clicking 'Allow all cookies', you agree to the use of all cookies. You can find more information in our cookie policy.