
How do I take care of my EXIT trampoline?
You can be rest assured that your EXIT Toys trampoline is a top quality one. Would you like to know what you can do to extend its lifespan? Bounce your way through our trampoline maintenance tips!
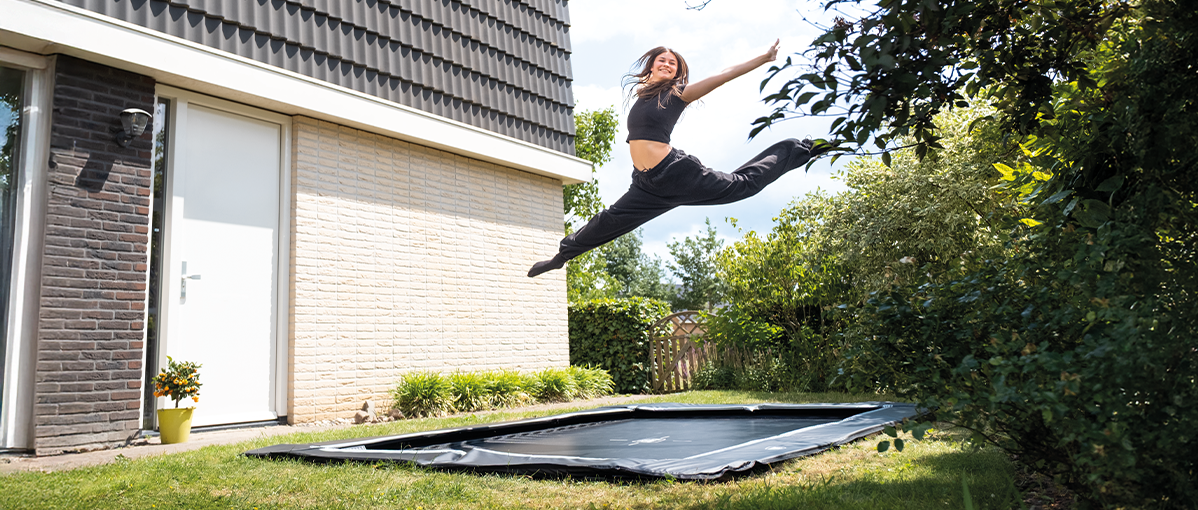
Burying a trampoline? Follow the steps: choose inground or ground-level, pick a smart spot, measure and dig the pit, arrange water drainage and ventilation, assemble the trampoline and finish the edge neatly before the first jump.
Burying a trampoline is a great way to let it blend calmly into the garden. The step height is lower, children can get on and off more easily and the trampoline stands out less in your garden. But before anyone can start jumping, there is some work to do. Where should the pit go? How deep do you need to dig? And how do you make sure water can drain away properly?
In this blog, you’ll read how to prepare for burying a trampoline and how to tackle it step by step.
Not every buried trampoline is the same. With an in-ground trampoline, the frame usually sits slightly above the lawn. You dig a pit under the jumping surface, so there is enough space to jump.
With a ground level trampoline, the trampoline sits level with the ground. This creates a particularly calm look, but often requires a different preparation and precise placement.
That’s why you should always check first which type of trampoline you have. Use your trampoline manual as the starting point. It contains the correct pit shape, depth and distance to the edge.
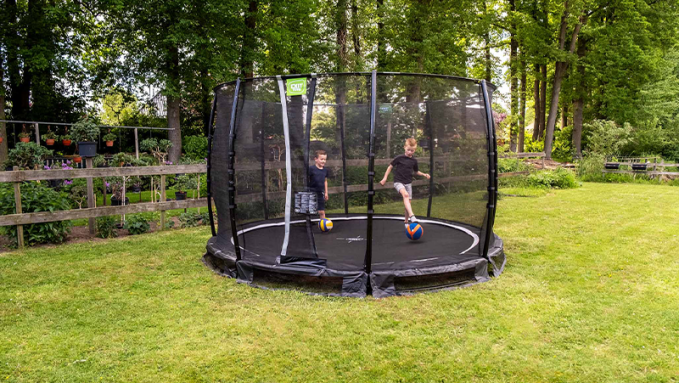
A good spot makes burying the trampoline a lot easier. Don’t just look at where the trampoline looks good, but also at the ground and the space around it.
Pay attention to these points:
• Choose a level part of the garden.
• Keep enough free space around the trampoline.
• Do not place the trampoline directly next to a fence, wall, tree or play equipment.
• Check that there are no cables, pipes or sprinkler systems under the ground.
• Think about water drainage, especially with clay soil or a low-lying garden.
Unsure about pipes or cables? Check this before you start digging. That helps prevent surprises while you work.
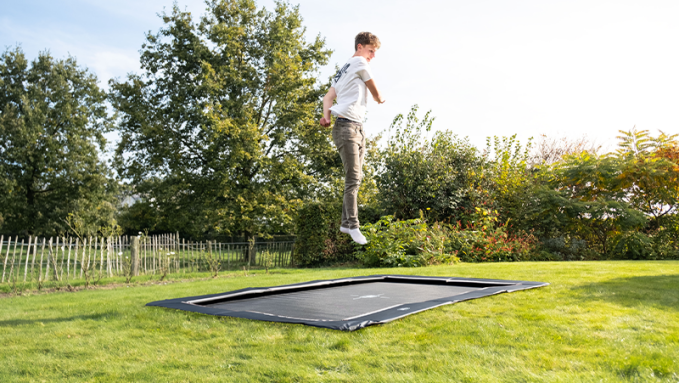
Measuring carefully saves a lot of digging work afterwards. Keep the frame or manual nearby and decide exactly where the trampoline should go. Mark the shape on the ground with pegs, string or marking spray.
Don’t simply dig one large straight pit. A trampoline mainly needs depth under the centre of the jumping mat. Less space is often needed at the sides. The exact shape differs from trampoline to trampoline, so always follow the manual for your model.
A practical approach:
• Mark the outside size of the trampoline.
• Then mark the pit under the jumping surface.
• Check the measurements one more time.
• Only start digging when everything is correct.
It sounds simple, but this is exactly the step where you can save the most time.
Now the real work begins. Dig the pit according to the shape and depth in the manual. Work calmly and regularly check whether the depth is correct.
Make sure the bottom of the pit is free from sharp stones, roots and other hard material. This makes assembly easier and helps prevent parts from being put under unnecessary strain later.
Do you have heavy clay soil, lots of tree roots or a garden that stays wet quickly? Then professional help can be a smart choice. A gardener or installer can help you think through the groundwork, drainage and a neat finish.
A buried trampoline has to deal with rainwater. If water remains in the pit, this can be inconvenient for use and maintenance. So think about drainage before placing the trampoline.
What is needed depends on your garden. Sandy soil often lets water drain away more easily than clay soil. In a lower part of the garden, water can collect more quickly.
Possible solutions include a water-permeable layer, a drainage solution or advice from a professional. Don’t just choose a solution by instinct, but look carefully at the situation in your garden.
When someone jumps, the jumping mat moves air. With a buried trampoline, that air must be able to escape properly. If there is too little air circulation, this can affect how the trampoline bounces.
So leave enough space around or under the trampoline, according to the manual. Do not seal the space under the trampoline completely airtight. A neat finish looks good, but the trampoline must still be able to function properly.
Is the pit ready? Then you can assemble and place the trampoline. First lay out all parts clearly. Check that nothing is missing and follow the steps in the manual.
During assembly, pay attention to the following:
• Is the frame straight and even?
• Is the trampoline positioned correctly above the pit?
• Is the padding fitted neatly?
• Are the springs, jumping mat and any safety enclosure properly attached?
• Is the trampoline standing firmly in place?
Take your time with this. Good assembly helps ensure the trampoline can be used comfortably and safely.
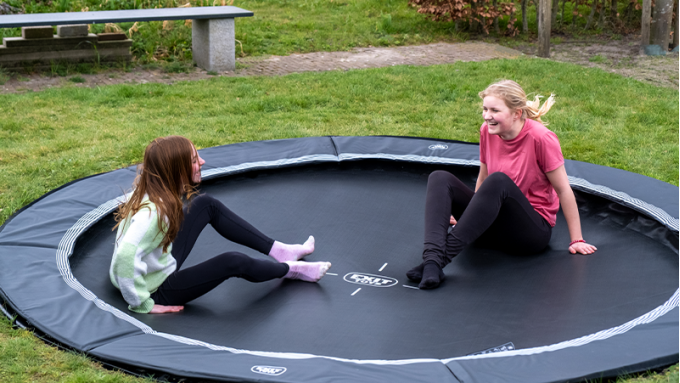
Once the trampoline is in place, you can finish the edge around it. Think of grass, artificial grass, safety tiles or another suitable finish. Choose something that suits your garden and feels comfortable around the trampoline.
Make sure the finish does not get in the way when jumping or during maintenance. You should still be able to check the trampoline, clean it or replace parts.
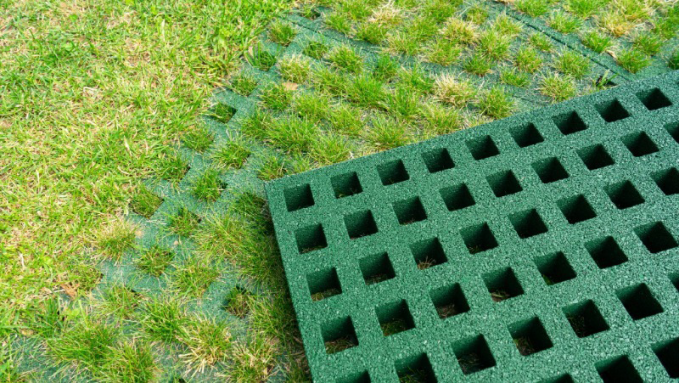
Before the children start jumping, a final check is important. Walk calmly around the trampoline and check that everything is in place.
At least check:
• Whether the frame is standing firmly.
• Whether the jumping mat is properly attached.
• Whether the padding covers the springs properly.
• Whether there are no sharp edges, stones or loose parts.
• Whether the pit is free from water and dirt.
• Whether the safety enclosure, if you have one, is securely attached.
Repeat this check regularly, especially after heavy rain, strong wind or intensive use.
Common mistakes when burying a trampoline
Burying a trampoline is perfectly manageable, but these are mistakes you would rather avoid:
• Starting to dig too quickly
Without measuring properly, it is easy to dig too wide, too deep or in the wrong spot. Take the time to prepare.
• Skipping the manual
Every trampoline is different. You’ll find the correct pit dimensions and assembly instructions in the manual for your model.
• Not taking water into account
A pit without good drainage can fill up when it rains. So think about drainage in advance.
• Blocking the airflow
Do not close off the space around the trampoline completely. Air needs to be able to escape during jumping.
• Burying a regular trampoline on legs
Not every trampoline is suitable for burying. Use a trampoline that is designed to be placed in or on a pit.
Burying a trampoline takes some preparation, but the result is worth it. Your trampoline gets a calm place in the garden and children can get on and off easily. By measuring carefully, digging the right pit and taking water drainage and air circulation into account, you lay the foundation for plenty of jumping fun with a trampoline that stays properly in place year after year.
Take a good look beforehand at which type of trampoline suits your garden, and always use the manual for your EXIT trampoline for the correct installation.
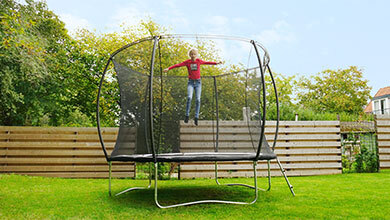
You can be rest assured that your EXIT Toys trampoline is a top quality one. Would you like to know what you can do to extend its lifespan? Bounce your way through our trampoline maintenance tips!
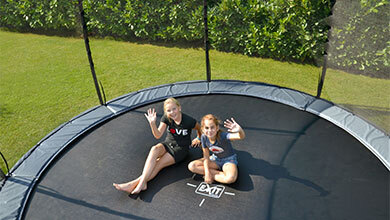
Before purchasing the trampoline, it is important to know whether you want to dug-in the trampoline or not. Read why in this EXIT Toys blog.
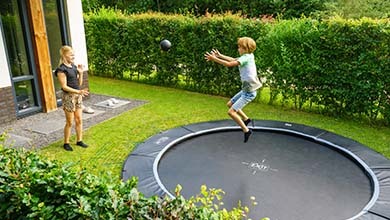
Thanks to safety tiles you can jump carefree on an EXIT trampoline without a safety net. Check out all the benefits and the importance of safety tiles in this blog.

Our website uses cookies. We use functional, analytical, and tracking cookies to analyse traffic on our website and personalize content. This allows us to improve the user experience on the website.
By clicking 'Customize', you can learn more about the specific types of cookies and customize your preferences. By clicking 'Allow all cookies', you agree to the use of all cookies. You can find more information in our cookie policy.
For more information on how Google will use your personal data, please refer to Google's Privacy & Terms.
Stay informed about interesting offers and news!